 Skip to content

 Vouchers / Music
 Merch store
 Overview
 Big Molimo AK
 Gilbert Bishop
 Einwelt
 DGS
 Artist Talk
 Erich Kanli
 Grosses K
 D.O Double Dars
 Speaker
 Singer Female
 Singer Male
 Rapper
 Internship
 Internship AI artist
 Music producer
 Copywriter
 Dancer
Vocal recording
Vocal Recording in a Studio: What to Bring – and What the Studio Handles

Oct
ⓘ AI imageThe featured image is an AI-generated illustration.
In short
A vocal session rarely fails on the technical side. It fails because the backing track is in the wrong key, because the lyrics are not solid yet, or because studio time goes into decisions that should have been made beforehand. This article shows how to prepare for a vocal recording so that studio time goes into singing.
What you bring:
- The backing track as a WAV, without vocals, at the final tempo and in the final key
- The lyrics on paper, in the version you intend to sing
- A reference track you are aiming at, sound-wise
- An idea of what happens to the recording afterwards — demo, release, social media
What the studio handles: level setting, recording, comping the takes, editing, vocal tuning, effects, mixing and, on request, mastering. At Soundstar Studios there is one more request: let us know your song selection at least 48 hours before the appointment, so the session is technically prepared when you walk in.
The key matters more than the microphone
The most common problem in the studio is not a technical one: the backing track sits a whole tone too high, and the chorus that still worked at home stops landing after the third take.
So settle this beforehand:
- Sing the song through twice, in full, before you book. Not marked — fully, including the highest passage.
- If the top note scrapes, transpose. A semitone down rescues more recordings than any microphone.
- Have the transposed backing track delivered in advance, rather than generating it in the studio. You need that time for singing.
If you do not have a backing track yet: there is a selection of beats and instrumentals in house, and an instrumental can also be produced in the studio. Either way, it should be finished before the recording date.
Delivering the backing track properly
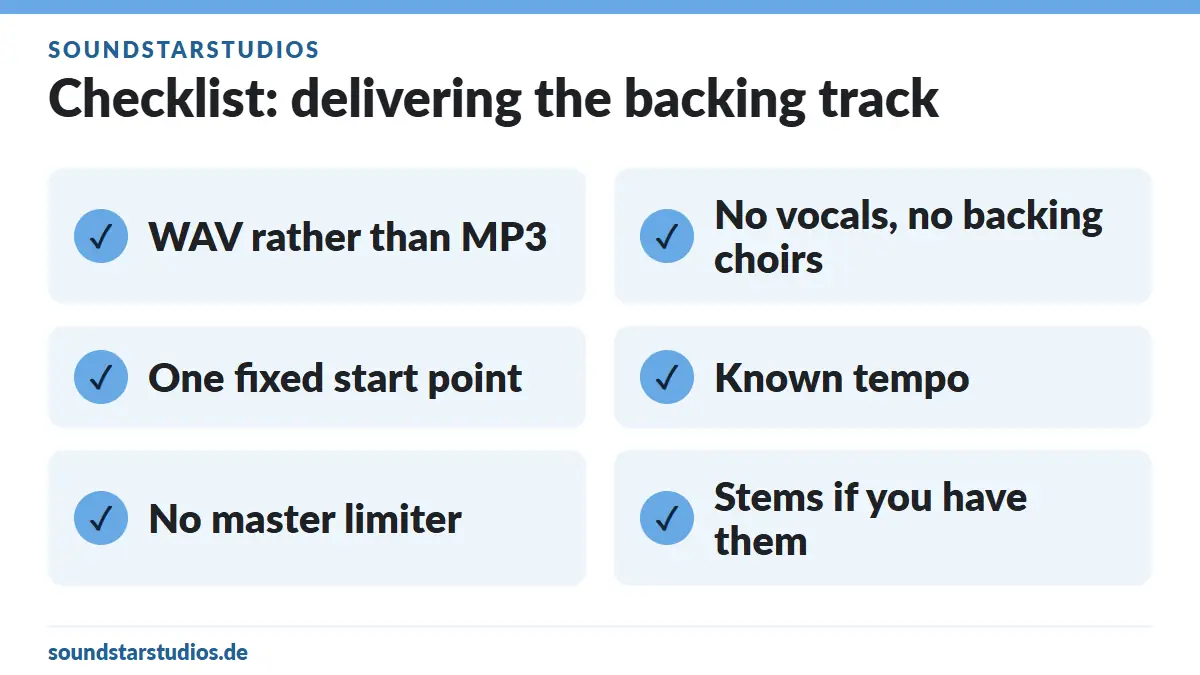
A short list that prevents most day-to-day problems:
| Point | Why |
|---|---|
| WAV rather than MP3 | MP3 is already compressed; mixing and mastering need the uncompressed version |
| No vocals, no backing choirs | You want to record your voice, not sing against someone else’s |
| One fixed start point | All files must start at the same position, otherwise everything drifts later |
| Known tempo | With a known BPM the click can be set and edits stay clean |
| No master limiter | A backing track squashed flat leaves the mix no room |
| Stems if you have them | Separate tracks give the mix headroom a stereo bounce cannot |
If all you have is an MP3, that is not a deal-breaker — just say so in advance so nobody is surprised in the studio.
Your voice in the days before
No secret knowledge, but it works:
- For two days, avoid shouting and whispering. Both strain the voice more than normal singing does.
- Sleep early the night before. Tiredness shows up in intonation before you notice it.
- Drink water across the whole day — not one large amount shortly before.
- Do not try anything new on the day. No new tea, no new throat sweets, no dairy shortly before singing if you know it does not suit you.
- Warm up before you get to the studio, not in the booth. Twenty minutes on the way is enough.
How the session runs
- Arrive and load the track. We listen through once together and agree which parts are being recorded today.
- Setting levels. You sing the loudest passage and the engineer sets the gain so even the shout stays clean. That takes a few minutes.
- Headphone mix. How loud the backing track sits against your voice is your call, not a technical one. Say it twice if you need to. Nobody sings well on an uncomfortable mix.
- Takes. Usually two or three full passes first, then targeted work on the parts that are not landing yet. Mistakes are expected and are not a problem — that is exactly what the time is for.
- Comping. The passes are assembled into one continuous track. If you have preferences, now is the moment to say so.
- Doubles and ad-libs. Chorus doubles, harmonies, interjections. This is the width that demos usually lack.
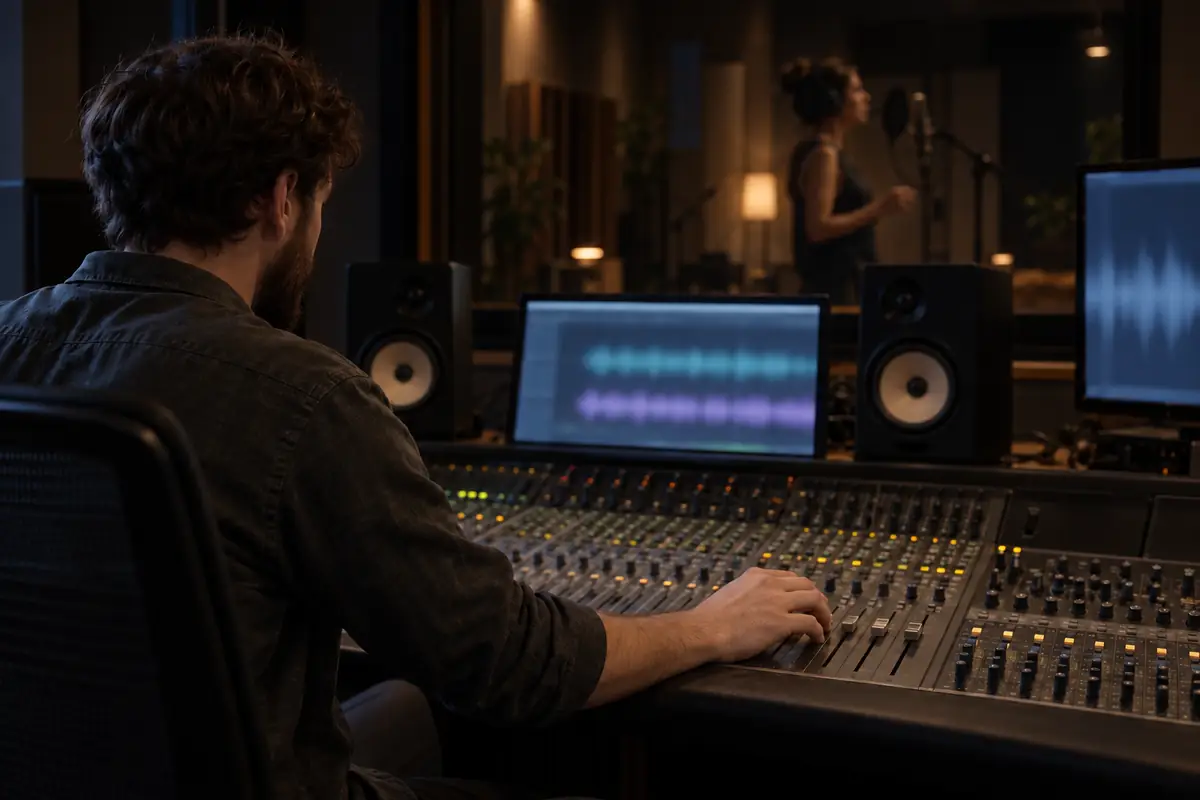
- Editing and export. Level setting, monitoring, session direction, editing and export are handled by the studio.
What the studio handles
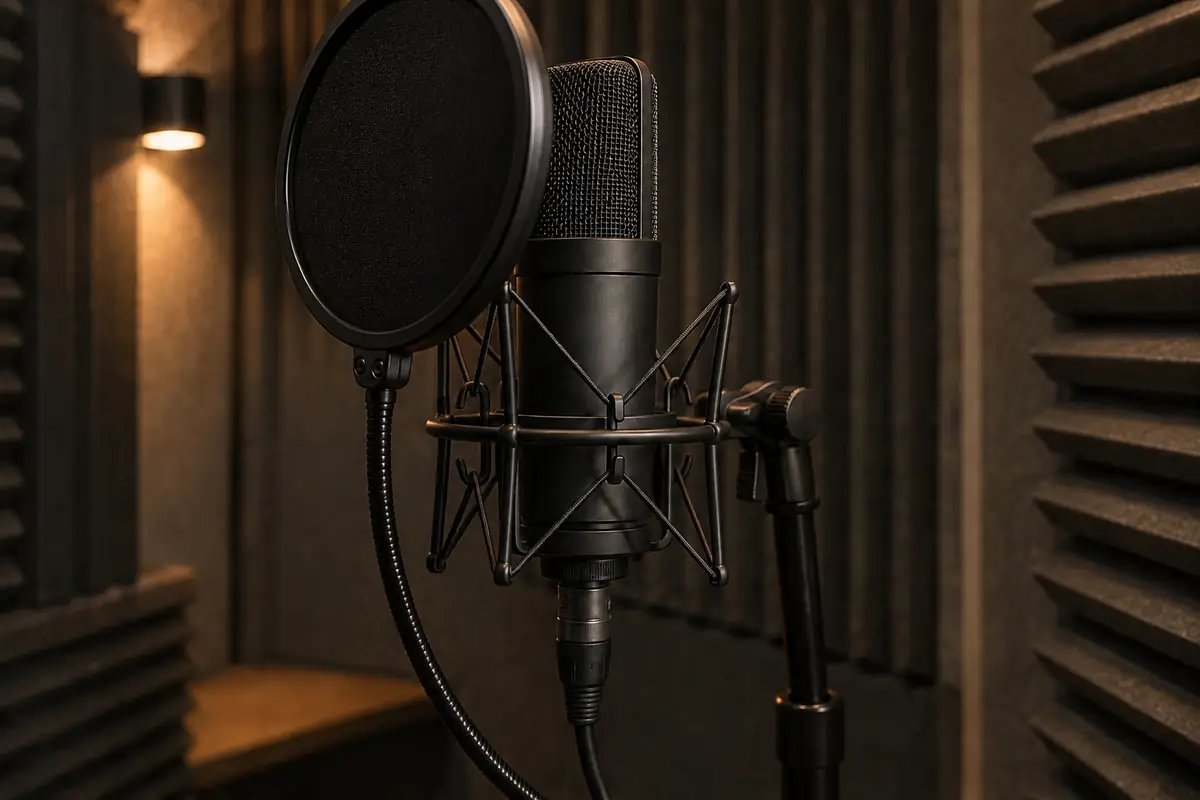
Technically you record in an acoustically treated booth, through a Neumann U87 Ai and preamps by SPL and RME, among other equipment. Details are on the technical data page.
After recording come the steps that separate "recorded" from "finished":
- Editing — cuts, breaths, timing
- Vocal tuning — intonation correction, as much as necessary and as little as possible
- Effects and mixing — reverb, compression, space in the frequency range
- Mastering — the final stage before release
You receive WAV at 48 kHz / 24 bit plus MP3 files, and mastered versions on request. All tracks are available as a download.
If your project is speech rather than singing, the preparation looks different: how to plan a podcast session is covered in How to prepare a podcast recording session.
Recording remotely: possible, with one limitation
Sessions can be attended via Zoom, Source-Connect, SessionLinkPro, Microsoft Teams or Google Meet. That is particularly useful when a producer or label is not based in Munich: they listen in and give feedback directly.
The limitation is worth stating plainly: the recording itself happens where the microphone and the room are. Remote replaces the control room, not the booth.
Why your song sounds quieter on Spotify than your master
A question that comes up almost every time. Streaming services level playback so that quiet and loud tracks feel equally loud. Spotify describes it this way: playback is normalised to −14 dB LUFS, with a recommended True Peak maximum of −1 dB; if your master is louder than −14 dB integrated LUFS, True Peak should stay below −2 dB.
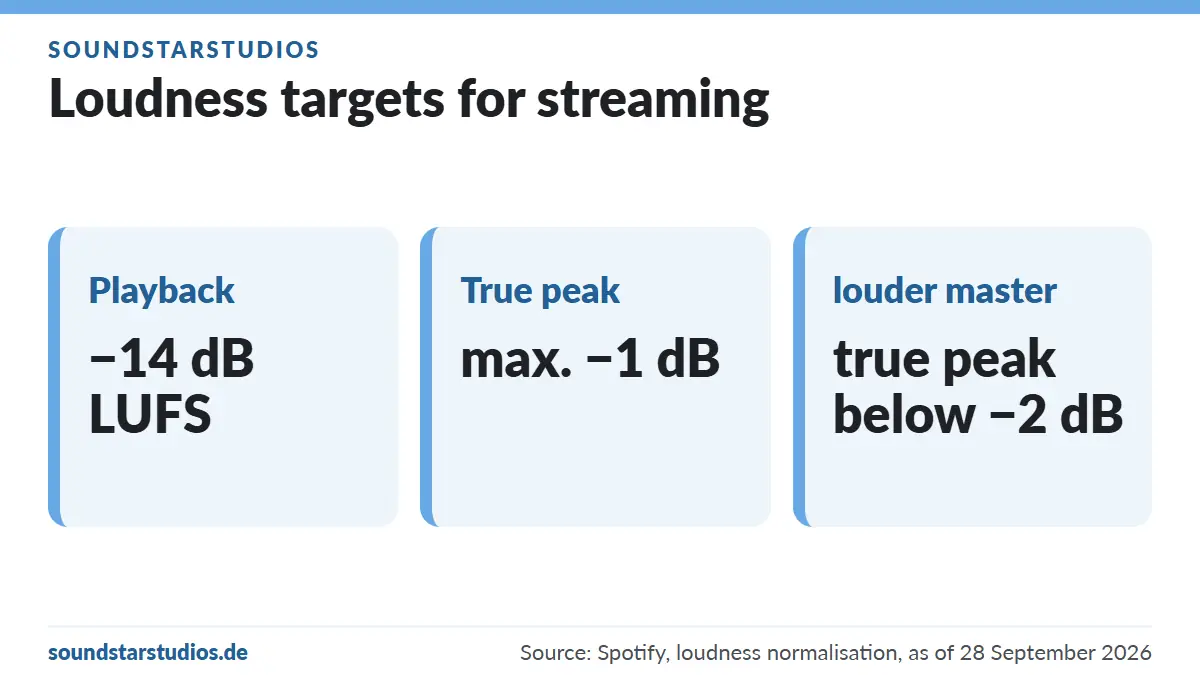
In practice: pushing a master to maximum loudness gains you nothing there — it gets turned down anyway and you have only lost dynamics. Tell us before mastering where the song is going, and we will work to the right target.
Cover song or original? The difference is a legal one
- Your own song, your own lyrics, your own instrumental: the recording is yours and you decide about release.
- A cover of someone else’s song: lyrics and composition belong to someone else. Releasing it means clearing the rights — in Germany that usually runs through GEMA, whose pages for music users explain which uses have to be registered.
- A purchased beat: read the licence before you release. "Free for profit" almost never means what it appears to mean.
For a recording that stays private, none of this is critical. The moment it goes public, it should be settled in advance.
Common mistakes – and how to avoid them
- Looking for the backing track in the studio. This reliably costs the first half hour.
- Not knowing the lyrics. Reading is audible, because the phrasing tips over.
- Booking in the wrong key. See above — the most expensive avoidable mistake.
- Planning too many songs for too little time. One song done well beats three done halfway.
- Putting up with the headphone mix instead of having it changed. It takes thirty seconds to adjust.
- Treating tuning as a substitute for practice. Tuning corrects intonation, not expression.
FAQ – how to prepare for a vocal recording
How long does a vocal recording take?
For one song with a lead vocal, doubles and ad-libs, two to four hours is a realistic range. The Soundstar Studios packages are graded by studio time accordingly — 1 hour, 2 hours and 4 hours. Current terms are on the vocal recording page.
Can I bring my own beat?
Yes. Ideally as a WAV, without vocals, with a known tempo. If you do not have one yet, there is a selection of beats in house.
Which files do I get at the end?
WAV at 48 kHz / 24 bit and MP3, plus mastered versions on request. All tracks are available as a download.
Do I have to be a good singer?
For a release you should have the song firmly under control. For a first recording it is enough that you like it and can sing it through — the engineer guides the rest.
What is vocal tuning, and is it audible?
Tuning corrects the pitch of individual notes. Used subtly it is inaudible; used heavily it becomes a stylistic device. How far we go is your decision.
Can someone listen in remotely?
Yes, via Zoom, Source-Connect, SessionLinkPro, Microsoft Teams or Google Meet — with live feedback.
May I record a cover song?
Recording, yes. Releasing it requires the rights to lyrics and composition to be cleared; in Germany that usually runs through GEMA.
Your session in Munich
Once key, backing track and lyrics are settled, the rest is our job. Take a look at vocal recording, check the technical data and the location — then book your session or write to us through the contact form if you want to settle something first.
And remember the song selection: at least 48 hours before the appointment.
Sources
Last Updated on 10/10/2026 by SOUNDSTARSTUDIOS
